Thing 2 has a birthday sleepover party tonight. She got up and dressed herself in a favorite T-shirt that is getting shorter every time she puts it on. Thing 2 is quite slender and only seems to grow in one direction...UP. She is still able to wear clothes that she got when she was 4, but, of course, length is an issue.

I decided to tackle a project that I've wanted to try for a while now...lengthen a T-shirt. So, here is how ~I~ did it. I'm no expert and I'm sure there might be easier and/or better ways to accomplish this, but here is what I did...

- Find another T-shirt to cut up and use for the extra length. I chose an adult T already on-hand (I'm trying to accomplish this project quickly and for zero cost ;)

- Use the small T as a guide for how wide to cut the pieces from the larger T.
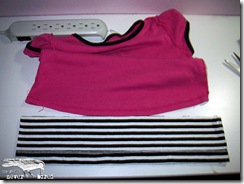
I laid the small T on top of the large T (both inside out) and cut. - Next, I opted to serge the two long upper edges cut from the large T because they were starting to ravel a tiny bit. This might not be necessary on 100% cotton T material, but the large T was a stretchy poly blend, so serging the edges made it look nicer on the inside.
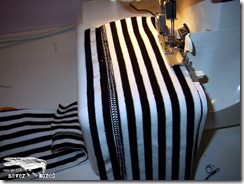
- Then, with RIGHT sides together, serge both side seams. I stressed ~RIGHT sides together~ for my own benefit because I messed up the first go around and serged right to wrong side and had to rip it out and do it again ;0
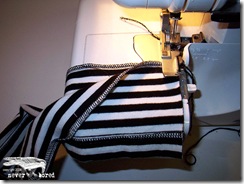
- Turn both small T and new lengthening band right side out and pin the band to the bottom of the small T. Since the band is stripey, I found it easiest to pin this way and use one of the stripes as a guide on where to pin. I made sure the upper serged edge of the stripey band was slightly above the stitching on the hem of the small T since I would use the old hem stitch as a guide for the new hem stitch.
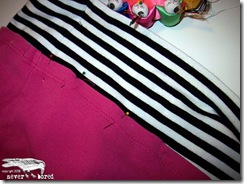
- Next, stitch the band to the small T. I would have chosen hot pink thread to match the original hem stitch, but I didn't have that on-hand and, as I mentioned before, I was attempting to do this project as quickly as possible and for no cost. So, I chose black thread and used a straight stretch stitch to attach the band. I sewed on the outside of the T, stitching through both the small T and the new band.
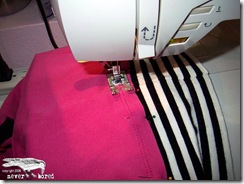
- As expected, this method created a bit of a puckering effect when it was completed. I steam ironed the hem and it looked much better.
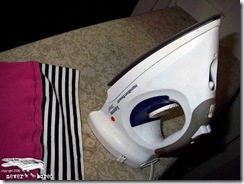
- Done! Quick and easy and free ;)

Again, I would have chosen thread to match the small T so the new hem wouldn't be so noticeable, but she's happy and she can wear her shirt for at least another season. I could cover the stitching with some cute trim or add a ruffle and I might add some more of the striped fabric and make the sleeves a bit longer because I think that would look cute, but that's for another day. Right now, I just need to get her to brush her hair and find some pants that match and we'll be ready to head out to the birthday party!